
It has been a full decade since we started this tradition!
 Nova was five the first time around. She had a 10 month old baby sister. After having been the youngest for almost five years, I thought this new middle child could use some attention, a secret project for the two of us. I had always liked American Girl’s Kirsten books and had been charmed by the winter story including Santa Lucia Day. And we are Scandinavian, though I am not sure if that is really here nor there. Norway started celebrating Santa Lucia day in a serious way only after my ancestors left for America, so this was not handed down. Anyway, it seemed like the right thing to choose. I got the book, Kirsten’s Surprise, from the library, and suggested to Nova we try our own Santa Lucia day after reading it. I asked my mom if she could make the gown, which was a great help in keeping everything a secret. Nova and I took a surreptitious trip to Penzy’s to get saffron. As we got closer to mid December, I snuck greens, red berries (fake so nothing could poison our toddling 10 month old), and battery operated candles up to the nursery, where we quietly made a wreath while baby Charlotte was asleep. The morning of, all there was left to do was make the saffron buns. We pulled it off reasonably close to dawn. Charles and Solomon were thoroughly surprised!
 And so we did it again the next year. Of course Charlotte wanted to do it too. While I knew that technically the Santa Lucia roll was reserved for the oldest daughter, I didn’t want her to feel left out, and Nova enjoyed sharing the secret preparations with her little sister. Solomon showed no interest in being a star boy (the boys' roll). He seemed content with being the recipient of surprises baked goods and hot chocolate. Several years later Ariadne joined in.
Over the years we have had more and less picturesque iterations of this holiday. Every other year we have cardamom coffee cake, as we are not all fans of saffron. Cardamom is certainly a spice Norwegians seem fond of, but coffee cake is definitely not traditional. (Kids, if you are ever looking for the cardamom cake recipe, I used the one in the Moosewood Cookbook, subbing in almond flour for wheat.)

This year we attempted saffron buns not once but three times! The recipe we've used since the beginning is this one, from Simply Recipes. The first time Nova forgot the milk, sour cream and butter. We declared it a bust and put off celebrating. Charlotte and Ariadne, influenced by The Great British Baking Show, decided plait the dairy-less dough and bake it anyway. Surprise! They were delicious!! We also made them for Christmas, but I let them rise a little long.

When we did them for Santa Lucia day, Nova made the dough the night before, but Solomon stirred the yeast prematurely, not realizing it would stop the bread from rising. At this point, had already put Santa Lucia day off too long. We had blown through actual Santa Lucia day, December 13th, the winter solstice December 21st, and had reached the very last day of the year. So I got Pillsbury pop 'n fresh cinnamon rolls. We shaped them like saffron buns and went on with our morning. In retrospect, the ones without the dairy were the best. We might try that on purpose next time.
Somewhere along the line I took over making the gowns (really night gowns) from my mom. I don't make them every year, once every other or even every third year suffices. I have distinct memories of making them in triplicate is sizes 12, 6, and 3. According to the blog that was 2014.

This year was another year for sewing in triplicate. The white stretch cotton I prefer for these nightgowns is getting harder to find, which ultimately lead to a late night special order from an independent fabric store on Black Friday. We are talking the whole nine yards! (Actually I think it was 9 1/2). Apparently I use Black Friday deals to buy fabric while sitting on my couch, and nothing else. In the end this year’s nightgowns were made of bamboo jerseys knit. It is lovely to touch, but a little tricky to work with.

Hart’s, the independent fabric store, happened to be just ‘over the hill’ in Santa Cruz. I spent a nice morning there by myself picking out trim a few weeks later. One of their very helpful staff and I were chatting and I sheepishly admitted I was making gowns for a very Americanized version of Santa Lucia. She grew up in Northern Europe and immediately began humming a pretty little tune. Somehow it had escaped me that there was a song attached to this holiday!


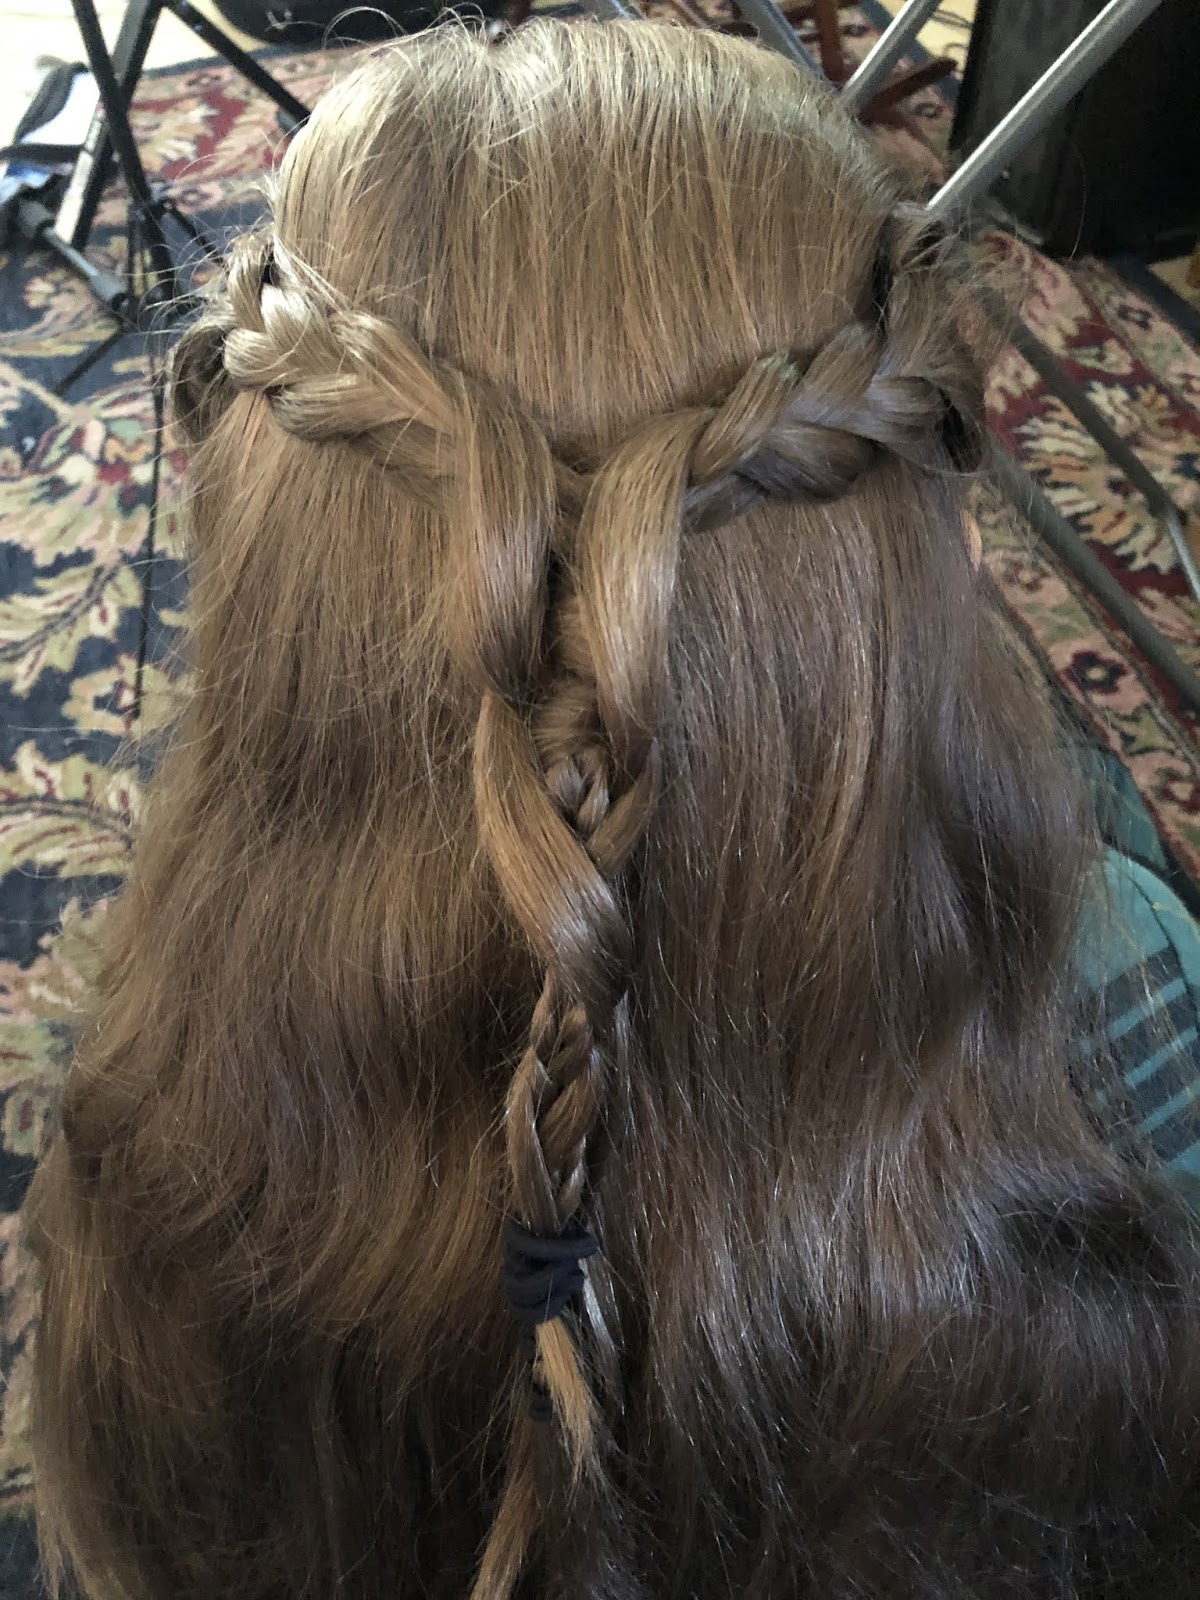
Sewing this year's Santa Lucia night gowns upped my skills considerably. Since the girls size 12 was so billowy on 11 year old Nova, I held out hope that the girls 14 might fit her now that she is firmly on adult sizes. I tissue fit the pattern to check the sizing. Tissue fitting involves drawing the seam allowances onto the pattern, then pinning the pieces as if they were sewn so it can be tried on. I was tempted to skip this step but am really glad I didn’t. The girls 14 did NOT fit Nova. But it did fit Charlotte! An unexpected development. We looked at some adult patterns, but in the end Nova wanted to stick with good old Simplicity 1569. Our go-to has been to put the long sleeves from the pajamas on the nightgown. Once I even managed to make robes, in which case we mixed the pockets from one option with the trim from another--one of the advantages of sewing is unlimited adaptation. I am afraid they might be phasing this pattern out as it is only available via Simplicity’s website now. I guess I will have to stock up. This year we made a size 10, girl's 14 and woman's 14.
I decided to make Charlotte’s first to avoid mixing up sizes.

 Then it was time to grade up the pattern to an adult size for Nova. I used this tutorial from Sew To Fit by AD Lynn. My tools were a roll of parchment paper (usually used for baking), a large ruler with a French curve on the end, some improvised paper weights, and a sharp pencil. I also checked the sized up version against Nova’s measurements. I had to put ALL the leaves in the dining room table for a floor length nightgown of this size. I also had to call my mom to be reminded of the trick of getting a long piece of fabric to lie flat when folded--something to do with lining up the selvage edges and nicking the fabric and then folding those nicks to match. I will have to call her again to get it straight.

 I tissue fit the graded pattern and this time it fit! I cut out Nova and Ariadne's patterns and sewed them at the same time. I find it faster, as long as I don't mix up the pieces between the different sizes. And I also don't have to worry about one daughter's getting left undone.
Tape was helpful in making the elastic loop stay close together while sewing the back closure.
Everyone found them comfortable, and was reluctant to change out of the unfinished nightgowns after trying them on for fit.


I finally got real crowns from Ingabretson’s in Minneapolis, probably around the time I made those size 12, 6 and 3 nightgowns. But they are in a box that has proven impossible to find—a casualty of the move to California.

This year we used a thicker wire for the base of the wreath/crown and to attach the electric candles, and florist's wire to attach the greenery. Charlotte nixed the pre-made wreath--too much greenery.

I can't remember what they were laughing about--something must have been very funny. It may have been their dad. He was trying to get Nova to cheer up and participate in the photo. At nearly 16, she both loves these family traditions and is, occasionally, a little embarrassed by them. She had a friend coming over soon, and she didn't want to be caught in costume!


Ultimately everyone was laughing, and we managed to get a picture better than the one from that morning, which was less than ideal due to wet hair.


